SLV Tubes (CGI):
Massive thank you to Lukas Guziel for the fantastic sound design and score.
In the beginning of 2022 I was hired to work on co-creating a pipeline for a big medical company.
As NDA forbids me to share anything I started to create my own spare time project reflecting the things I have learned during the pipeline setup.
Keep on scrolling if you are curious, there are explainer text bits sprinkled throughout this project page.
Shoutouts:
Lukas Guziel for the fantastic sound design and score.
Cornelius Dämmrich & Ulf Ohnesorge for being good friends and motivated me throughout the project.
Again Maxime Roz for his great HDRIs
SLV TUBES Animation
Rendering:
Due to the larger resolution of 2560 x 2550 px that was later upscaled to UHD 3840 x 2160 px
as well as the massive amount of DOF the rendering took quite a while.
Render times were around 10 - 30 min / frame averaging 15 min / frame on 3 x 3090 + 4090 machine (3300 OB)
Due to the larger resolution of 2560 x 2550 px that was later upscaled to UHD 3840 x 2160 px
as well as the massive amount of DOF the rendering took quite a while.
Render times were around 10 - 30 min / frame averaging 15 min / frame on 3 x 3090 + 4090 machine (3300 OB)
HERO SHOT
Modeling:
As with my Nostalgy Project (PC) and Loveletter (Gameboy) projects before, I the attention was on clean scene setup with proper Subdivision Surface modeling as well as correct measurements and of course physically plausible Materials.
As with my Nostalgy Project (PC) and Loveletter (Gameboy) projects before, I the attention was on clean scene setup with proper Subdivision Surface modeling as well as correct measurements and of course physically plausible Materials.
SHOT 1 WIRE
BREAKDOWN SHOT 1
SHOT 2 WIRE
BREAKDOWN SHOT 2
SHOT 3 WIRE
BREAKDOWN SHOT 3
SHOT 4 WIRE
BREAKDOWN SHOT 4
SHOT 5 WIRE
BREAKDOWN SHOT 5
TYPICAL COMP TREE IN FUSION STUDIO
Comp in Fusion Studio was quite straight forward. With a tidy node tree everything is easily readable. If you are interested I have a tutorial how to handle ACES in Fusion using one of the shots from this Project Fusion Tutorial.
Comp in Fusion Studio was quite straight forward. With a tidy node tree everything is easily readable. If you are interested I have a tutorial how to handle ACES in Fusion using one of the shots from this Project Fusion Tutorial.
SCREEN RECORDING
When I was beginning to model the Bar-Meter I started a screen recording. You can find the time lapse of it on Instagram. Now with the release of the project I also release the full uncut modeling session. For non SDS nerds, this might be super boring. Especially as there is no audio that goes with it. But for those who always wondered how I get my clean SDS meshes, here you go:
When I was beginning to model the Bar-Meter I started a screen recording. You can find the time lapse of it on Instagram. Now with the release of the project I also release the full uncut modeling session. For non SDS nerds, this might be super boring. Especially as there is no audio that goes with it. But for those who always wondered how I get my clean SDS meshes, here you go:
Universal Camera:
I always wanted to create some super shallow bokeh shots in an animation. So since this setup is rather small and we are really close up with the camera, this proved to be the right project to finally go all in. With the Universal Camera Universal Cam Tutorial I used the Notched Aperture as well as optical vignetting to make the bokeh look realistic and not uniform and dead as it usually is the case in CGI.
I always wanted to create some super shallow bokeh shots in an animation. So since this setup is rather small and we are really close up with the camera, this proved to be the right project to finally go all in. With the Universal Camera Universal Cam Tutorial I used the Notched Aperture as well as optical vignetting to make the bokeh look realistic and not uniform and dead as it usually is the case in CGI.
STILL RENDER I
STILL RENDER II
ALTERNATIVE HERO SHOT
Production started out with the hero shot below. Though because of the strong back lighting the shot was changed to another angle for the final piece. I still like this hero shot very much. This is why I include it in the breakdown here.
Production started out with the hero shot below. Though because of the strong back lighting the shot was changed to another angle for the final piece. I still like this hero shot very much. This is why I include it in the breakdown here.
SHADING
Octanes Nested Dielectrics were utilized in order to provide the right boundary conditions for the fluid flowing through the tube. Modeling just in the right tolerances proved quite a challenge. As a small fault would manifest in artifacts and unnatural looking interfacing. Especially at the connection points of the L reroute pieces.
Octanes Nested Dielectrics were utilized in order to provide the right boundary conditions for the fluid flowing through the tube. Modeling just in the right tolerances proved quite a challenge. As a small fault would manifest in artifacts and unnatural looking interfacing. Especially at the connection points of the L reroute pieces.
CROSS SECTION
Cross section of the Tubes, the L routers, tubing held by zip ties as well as the fluid running through them.
MATERIALS
SELECTED MATERIAL NODETREES
I also can do simple node-trees if it offers enough complexity as it is.
DIRTY BUTTON MATERIAL
As you can see, the more dirt a material has, the larger the nodetree.
As you can see, the more dirt a material has, the larger the nodetree.
GRAY PAINT MATERIAL
This material is dirty and has chipped away areas all created procedurally within the node-tree using convex and concave Vertex Maps. To learn more, you can watch the The Power of Procedural Materials tutorial.
This material is dirty and has chipped away areas all created procedurally within the node-tree using convex and concave Vertex Maps. To learn more, you can watch the The Power of Procedural Materials tutorial.
SLV MASTER MATERIAL
Every once in a while I am building a master material that I can transfer between scenes and will procedurally adapt to the underlying geometry. Usually those materials have huge node trees. This is a metal material with all sort of dirt, dents and worn edges functions. Maybe I am overdoing it though :D
Every once in a while I am building a master material that I can transfer between scenes and will procedurally adapt to the underlying geometry. Usually those materials have huge node trees. This is a metal material with all sort of dirt, dents and worn edges functions. Maybe I am overdoing it though :D
If you made it here I have to thank you very much for your attention and endurance!
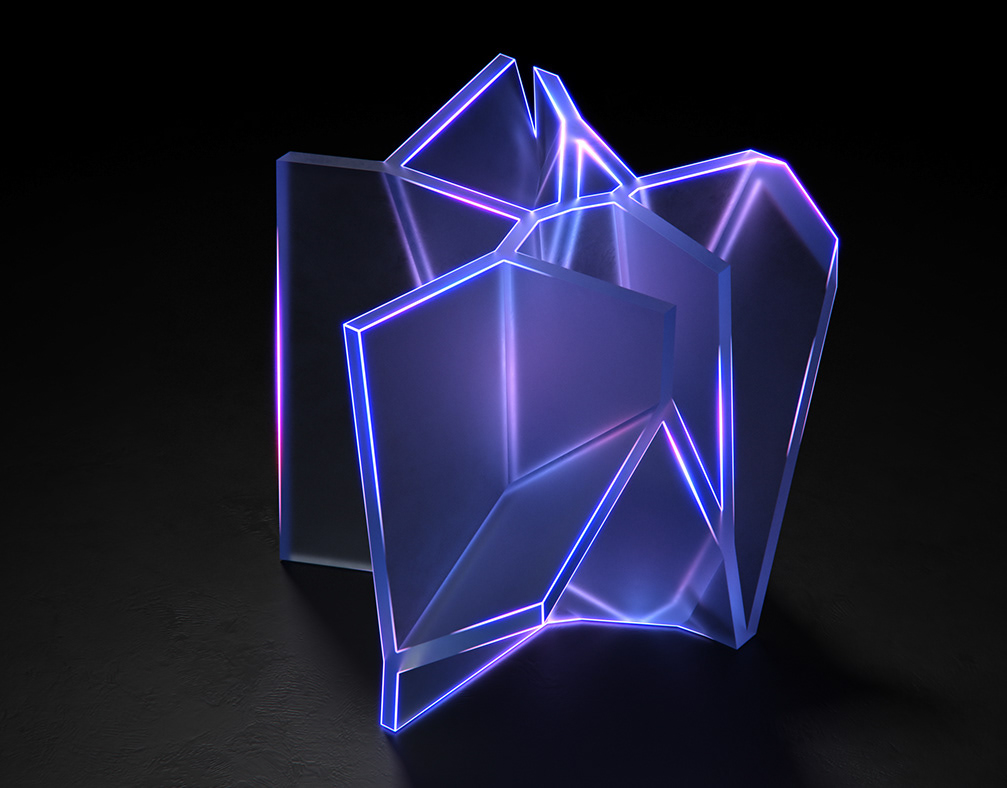
Here´s an unused element of the SLV tubes glowing that I thought of putting in but in the end did not fit the realistic feeling of the animation.
Here´s an unused element of the SLV tubes glowing that I thought of putting in but in the end did not fit the realistic feeling of the animation.
THANK YOU VERY MUCH FOR WATCHING!
For more work visit SILVERWING-VFX
